Ultimate Guide to How to Install Baby Car Seat With Seatbelt
Learning how to install baby car seat with seatbelt doesn't have to be a wrestling match. But if you've ever stood over an infant seat, pulled the belt until your knuckles turned white, and still watched it wobble, you know the frustration. The problem is rarely strength.
It's usually a missed detail in how the vehicle belt locks.
As of 2026, the American Academy of Pediatrics still recommends keeping kids rear-facing as long as possible. Federal safety standards under FMVSS 213 require every car seat sold in the US to handle a seat belt installation safely. The catch is that the car seat can only protect your child if the belt is routed and locked exactly right.
That's what we're going to walk through.
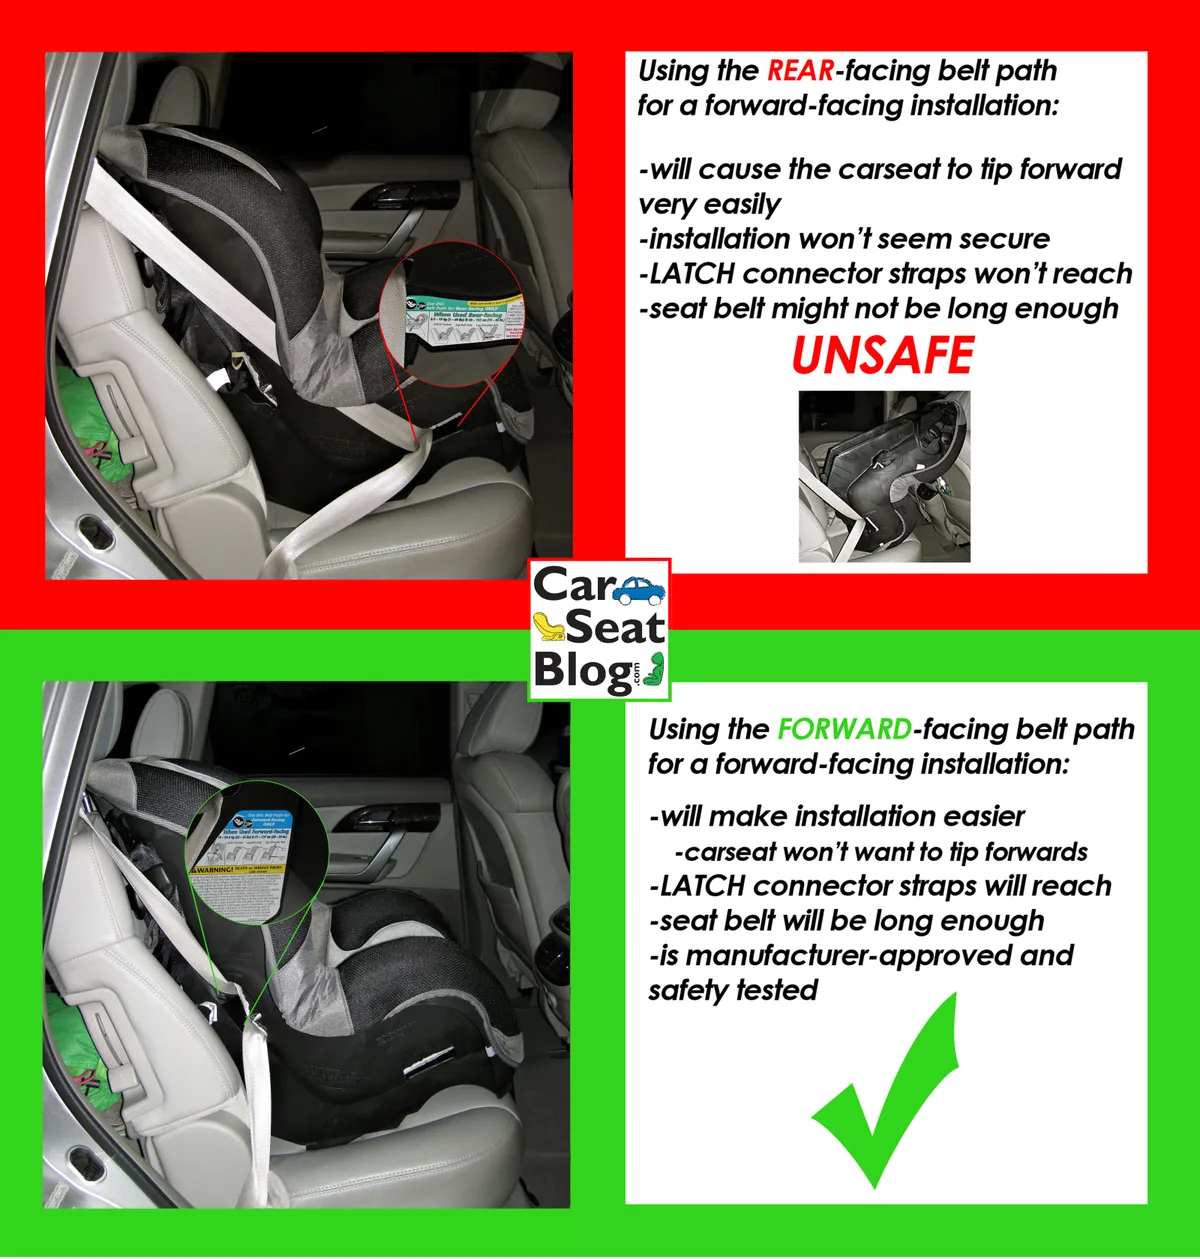
Image source: Bing (Web (fair-use with source credit))
Quick Answer
Use the correct belt path. Buckle the seat belt. Pull all slack from the lap portion.
Lock the belt with ALR, a lock-off, or a locking clip. Check that movement stays under one inch.
Why Seat Belt Installations Confuse Almost Everyone
Most parents first hear about LATCH. It's the set of metal anchors tucked between the seat cushions. It feels modern and straightforward.
So when someone says you need to use the seat belt instead, it sounds like a step backward.
It's not. A seat belt installation is just as safe when done right. In fact, it's often the only way to use the center rear seat.
And in many cars, the center seat is the safest place for a properly installed car seat.
The Real Difference Between LATCH and Seat Belt Installations
LATCH stands for Lower Anchors and Tethers for Children. It attaches the car seat directly to the vehicle's frame through anchors. A seat belt installation uses the vehicle's own lap-and-shoulder belt to hold the seat down.
Both methods work. They just use different hardware.
| What | LATCH | Seat Belt |
|---|---|---|
| What it uses | Lower anchors plus top tether | Vehicle lap-and-shoulder belt |
| Best for | Center seats with anchors, lighter seats | Universal use, older or heavier kids |
| Weight limit | Often 40 to 65 lb total seat plus child | No standardized seat belt weight cap |
| Extra hardware needed | No, if anchors exist | Locking clip or lock-off in many cases |
Manufacturer specifications differ from seat to seat. Some car seats allow either method. Never use both at the same time unless both manuals explicitly allow it.
Doubling up doesn't make it twice as safe. It can mess with belt or anchor tension.
Why “One Right Way” Doesn’t Exist (and Why That’s Okay)
Search around online and you'll see the same frustration: "The seat belt won't stay tight!" The reason is usually the retractor. Some belts lock only during a crash. Others lock as soon as you pull them all the way out.
Each car seat also routes the belt through a slightly different path. That's why manuals matter more than any single video tutorial.
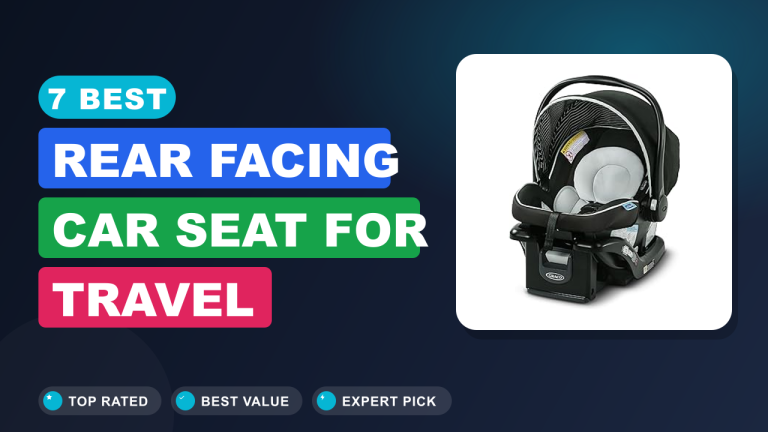
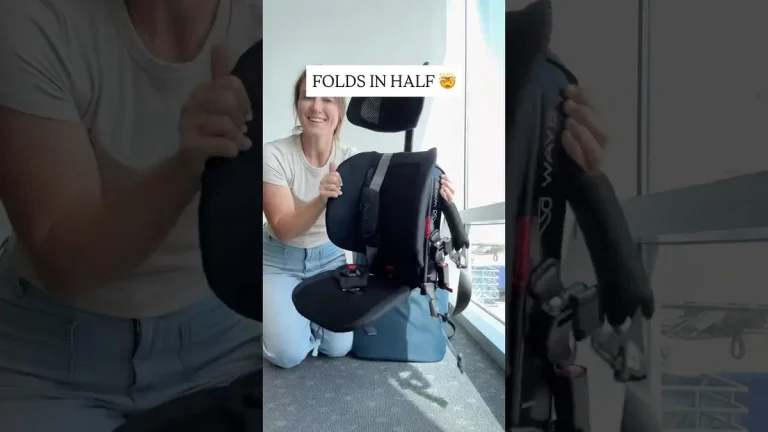
Parents who travel often say an easy install makes a huge difference, especially if you're looking at models built for long-distance driving. Rear-facing and forward-facing seats use different belt paths, too. So it also helps to know when it's safe to turn your child forward.
The National Highway Traffic Safety Administration publishes free car seat installation guidance. It's worth reading before you start, even if you've done this before.
How Your Vehicle’s Seat Belt Works With a Car Seat
You don't need to be a mechanic to install a car seat. But you do need to know one thing: how your seat belt locks. The locking mechanism is the difference between a solid install and one that loosens on the first turn.
ELR vs ALR Retractors: The Single Most Important Thing to Understand
An ELR, or Emergency Locking Retractor, lets the belt slide freely. It only locks when the car stops suddenly or hits something. Many modern vehicles use this type for the shoulder belt.
An ALR, or Automatic Locking Retractor, locks once you pull the belt all the way out. It ratchets tighter but won't loosen. That's the one you want for a car seat.
To tell them apart: pull the seat belt all the way out. Let it retract slowly. If you hear a clicking noise and feel it resist, you have an ALR.
If it returns smoothly, it's an ELR.
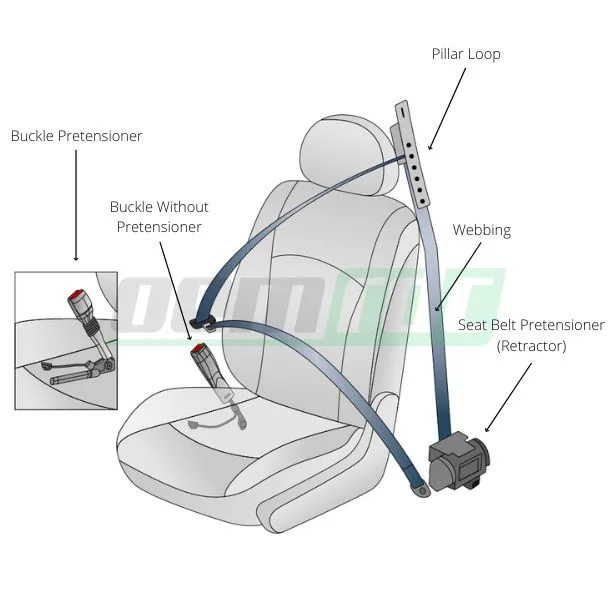
Image source: Bing (Web (fair-use with source credit))
If you have an ELR, you can't just tighten and hope. You need a locking clip or a built-in lock-off. If you have an ALR, the belt itself becomes the locking mechanism.
No extra hardware needed.
Locking Clip vs. Built-In Lock-Off vs. Lockable Belt
Car seats handle seat belt locking in three ways:
- A built-in lock-off is a clamp on the car seat that pinches the belt and holds it tight. Newer infant and convertible seats often include one.
- A locking clip is a small metal clip that sits on the belt webbing right above the latch plate. It may come with the seat and is required for some ELR belts.
- An ALR belt uses the vehicle's own retractor to lock. No extra piece is needed.
You only need one method. Using a locking clip on an ALR belt can push the clip into the wrong spot. It can also add pressure where the belt isn't meant to take it.
When in doubt, follow the car seat manual.
What You Need Before You Start Installing
Before you touch the belt, gather what you need. Lay everything out on the seat. You want a clean, flat surface and enough room to work.
- The car seat and its base, if it has one
- The car seat manual
- The vehicle owner's manual
- A locking clip if your seat includes one
- A recline adjuster or rolled towel, but only if the manual allows it
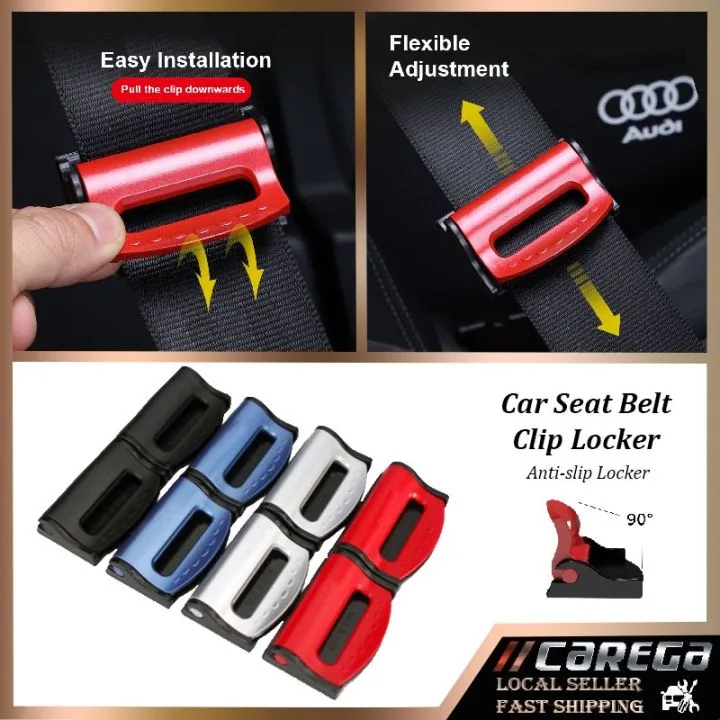
Image source: Bing (Web (fair-use with source credit))
Car Seat Manuals, Vehicle Manuals, and a Little Patience
Both manuals are non-negotiable. The car seat manual tells you the exact belt path, recline angle, and weight limits. The vehicle owner's manual tells you whether the rear seats have ALR belts, where the airbags are, and where tether anchors live.
Set aside 15 quiet minutes. Read the relevant pages before you start. If you're installing in a parking lot, get into the back seat and take your time.
When to Use a Locking Clip (and When You Must Not)
A locking clip is for ELR belts only. It goes on the belt webbing, not through the latch plate. Place it snug against the latch plate after the belt is buckled and tightened.
Do not use a locking clip if your seat belt retractor is ALR. Do not use one if the car seat has a built-in lock-off. Do not stack it with any other locking device.
The car seat manual is the final word.
Step-by-Step: How to Install an Infant Car Seat With a Seatbelt
Infant car seats usually have a detachable base. The base stays in the car, and the carrier clicks out. Most bases have a clearly marked belt path, often colored red.
Using the Base (Rear-Facing, Lap-and-Shoulder Belt)
- Place the base rear-facing on the vehicle seat. The base should sit flat, not tilted by the seat belt buckle.
- Check the recline angle. Most bases have an adjustable foot or an indicator bubble.
- Thread the lap-and-shoulder belt through the base's belt path. Buckle it.
- Press down firmly with one knee in the base while pulling the lap portion of the belt tight.
- Lock the belt. If it's an ALR, pull it all the way out first. If the seat has a lock-off, close it. If you need a locking clip, install it above the latch plate after tightening.
- Remove any twists from the webbing. A twisted belt won't hold tension evenly.
- Test for movement. Push at the belt path. The seat should move less than 1 inch side to side or front to back.
Never combine LATCH and a seat belt on the same base. Some bases allow either method, but not both. Check the manual before switching installation styles.
Baseless Installation for Travel, Taxis, or Spare Vehicles
Many infant carriers can be installed without the base. That's a lifesaver for taxis, rental cars, or a second vehicle. The process is similar, but the belt path runs through the carrier body instead of the base.
Check the manual first. Not every carrier allows baseless installation. If it does, tighten the belt exactly the way you would with the base, then verify the 1 inch rule.
If you're installing in a rented vehicle, allow extra time. Rental belts can behave differently. Always check whether the retractor is ALR or ELR before you start.
Step-by-Step: How to Install a Convertible Car Seat With a Seatbelt
Convertible seats are bigger and heavier. They also stay in the car for years, so it's worth learning the seat belt path properly.
Rear-Facing Seat Belt Installation
- Move the vehicle seat to an upright position if possible. This gives the car seat a firm base.
- Place the convertible car seat rear-facing. Use an approved recline adjuster if the manual includes one.
- Find the rear-facing belt path on the shell. It's usually near the child's feet.
- Thread the lap-and-shoulder belt through that path and buckle it.
- Kneel into the car seat with your full body weight. Pull the belt webbing tight from the shoulder end.
- Lock the retractor or close the lock-off. If you're using a locking clip, position it after the belt is tight.
- Check the recline angle and confirm the seat moves less than 1 inch at the belt path.
A secure install also helps keep motion steady, which matters if your child tends to get queasy on rides. If car time turns into crying and upset stomachs, our tips on preventing car sickness in babies and toddlers can help.
Forward-Facing Seat Belt Installation (Plus the Top Tether)
Once your child is big enough, the seat turns around. The belt path changes. So does the need for the top tether.
Route the seat belt through the forward-facing belt path. That's usually behind the child's head or where the child's back will rest. Buckle and tighten, pressing the seat back into the vehicle cushion.
Lock the belt the same way you did before. Then attach the top tether. The tether clips to the anchor behind the vehicle seat.
Pull it snug to reduce head movement in a crash.
Most forward-facing seats require the tether. Some also require the seat belt to be locked. Check the manual for both.
Once the seat is tight, remember that bulky winter coats throw off harness tightness. Dress your child in thin layers and place a coat over the harness after buckling. Our guide on safe car seat winter wear explains the layering approach in detail.
The 1-Inch Test and How to Get a Rock-Solid Install
Once the belt is locked, grab the car seat at the belt path. Push from side to side and pull front to back. It shouldn't move more than 1 inch in any direction.
If it moves more, the first fix is weight. Knot your knee deep into the seat base while you pull the belt. On rear-facing seats, pull the lap portion from the buckle side.
On forward-facing seats, pull from the shoulder side.
You can also lock the belt before you finish tightening. Let an ALR retractor ratchet back slowly. Snap the built-in lock-off closed.
Then make your final pull. A seat that passes the 1-inch test feels welded to the vehicle seat.
Common Mistakes People Make When Installing With a Seatbelt
- Using LATCH and the seat belt at the same time. Unless both manuals say it's allowed, pick one method.
- Forgetting that an ELR belt stays loose. You must lock it with a locking clip or a lock-off.
- Putting the locking clip in the wrong place. It sits above the latch plate, never inside the latch plate.
- Leaving twists in the belt webbing. Twists steal tension that you can't recover.
- Skipping the final movement test. A loose install is easy to feel once you know the 1-inch rule.
A common surprise is the seat inching loose during the first drive. That usually means the belt wasn't locked at all. It also helps to remember that babies who are too snug in a harness can get fussy on long trips, which is one reason some kids cry in the car.
Check the chest clip at armpit level and keep the harness snug enough that you can't pinch the webbing.
When a Seat Belt Install Is Actually the Better Choice
The center rear seat is the safest spot in most vehicles. But many cars don't have lower LATCH anchors in the center. That makes a seat belt install your only safe option there.
Rental cars and taxis don't always have LATCH-ready seats. Older vehicles may have no anchors at all. And once your child approaches the LATCH weight limit, the seat belt is the answer.
Most LATCH systems have a weight cap between 40 and 65 pounds. A seat belt install has no such cutoff in most passenger vehicles.
Manufacturer specs also matter. Some car seat manuals require a seat belt installation in certain seating positions. Always check your car seat manual before deciding.
Safety Checks, Recalls, and When to Get a Tech Involved
You can do everything right and still wonder if it's good enough. That's normal. The safest next step is a car seat inspection station.
Certified Child Passenger Safety Technicians will check your install for free at most stations. They'll also check for recalls and expiration dates. Registering your car seat with the manufacturer keeps you updated on safety issues.
The National Highway Traffic Safety Administration lists inspection stations by zip code.
Don't wait until something feels wrong. A technician can spot subtle problems like a misrouted belt or an unlocked retractor in minutes.
What to Do After a Crash or When the Seat Expires
A car seat's job is to absorb crash energy. After even a moderate crash, that capability is gone. Most manufacturers require replacing the seat after any crash, no matter how minor it seems.
Some allow continued use after a very minor crash, like a fender bender where the car was drivable, no airbags deployed, and no one was hurt. Your manual is the authority here.
Car seats also expire, usually between 6 and 10 years from the manufacture date. Heat, cold, and normal wear degrade the plastic and harness over time. The expiration date is printed on a sticker on the seat shell.
If you can't find it, look for a manufacture date and count forward.
A cracked shell, frayed harness, or missing instruction label means the seat is done. Don't pass it along to a friend or buy one secondhand from an unknown owner. The safest seat is a new, registered seat that hasn't been in a crash.
Quick Troubleshooting FAQ
Why does my seat belt keep locking when I pull it?
You're using an ALR retractor. It's designed to lock once the belt fully extends. Release the belt completely, let it retract a few inches, then try again.
A specific clicking feel each time means the locking mechanism is engaged.
Can I use both LATCH and a seat belt on the same car seat?
No, unless the car seat manual and vehicle manual both say it's allowed. Using both hardpoints at the same time can stress the shell and the anchors. The safest move is pick one secure installation method.
What if my vehicle has only a lap belt?
Some car seats allow lap-only belt installation. Convertible seats often support this in the center position. Check the manual's approved seating positions and never guess.
How do I know if my install is actually correct?
Run the 1-inch test. Then check the harness: snug against the child's body, no slack, and the chest clip level with the armpits. A certified Child Passenger Safety Technician can confirm a perfect install for free at most inspection stations.
Bottom Line: Seat Belt Installs Are Safe, Reliable, and Learnable
A seat belt installation is just as safe as LATCH when done correctly. It's also the only method that works in every vehicle, from rental cars to older models. The key is locking the belt, routing it through the right path, and testing for movement.
Take your time, read both manuals, and never drive off with a seat that moves more than 1 inch. If you're unsure, a free spot check from a certified technician is worth every minute. That's the final step in keeping your child safe on every ride.