How to Take Care of a Baby Chick: Complete Guide
You’ve brought home a tiny ball of fluff that peeps at you from inside a cardboard box, and now you’re wondering how to take care of a baby chick. It’s a fair question because those first few weeks are the most critical part of a chicken’s life. Get the basics right and you’ll have a healthy, happy bird.
Get them wrong and things can go south fast.
The first week alone requires a consistent brooder temperature of 95°F, which is hotter than most people expect. That single number comes straight from standard poultry husbandry guidelines, and it’s non-negotiable for a chick’s survival. Let’s walk through exactly what you need to know, from setup to feeding to the common mistakes that trip up new keepers.
Quick Answer
To take care of a baby chick, give it a warm brooder at 95°F. Provide chick starter feed and clean water with a shallow dish. Check the vent daily for dried droppings.
Lower the heat by 5°F each week. That’s the core routine for the first eight weeks.
Why Getting This Right Matters (and What Can Go Wrong)
Baby chicks are surprisingly fragile for creatures that grow up to be so tough. A day-old chick cannot regulate its own body temperature for the first week or two of life. It relies entirely on you to provide the right environment.
Get the temperature wrong by even a few degrees and the chick can become stressed, sick, or die within hours.
The USDA publishes clear guidelines on poultry husbandry, and every one of them starts with heat management. Chicks that are too cold huddle together and can smother each other in a pile. Chicks that are too hot pant, spread out, and stop eating.
Both scenarios lead to weak immune systems and open the door to diseases like coccidiosis.
Here is what poor care actually looks like in real numbers:
- Mortality from chilling spikes when brooder temperature drops below 85°F in the first week.
- Pasty butt, a blocked vent, can kill a chick in under 24 hours if not caught.
- Drowning in a water dish that is too deep is one of the most common causes of death in the first 48 hours.
- Fire from heat lamps accounts for hundreds of coop fires every year in the US alone.
None of this is meant to scare you. It is meant to show you that the stakes are real and the margin for error is small. Get these first steps right and you set your chick up for a long, healthy life.
Get them wrong and you learn the hard way.
The First 48 Hours: Setting Up Before Chicks Arrive
Preparation is everything. If you wait until the chicks are in your hands to set things up, you are already behind. The brooder needs to be running at the correct temperature for at least two hours before the chicks arrive.
That gives the heat source time to stabilize and the bedding to warm up.
Here is what you need to have ready before day one:
- Brooder enclosure: A plastic storage tub, a cardboard box, or a purpose-built brooder. It needs solid walls to block drafts and high enough sides to prevent escapes.
- Heat source: A 250-watt infrared heat lamp with a wire guard, or a radiant brooder plate. The guard is not optional. Unprotected bulbs can shatter or ignite bedding.
- Thermometer: A simple digital thermometer placed at chick level. Do not guess the temperature. You need a number.
- Bedding: Pine shavings, not cedar. Cedar releases toxic oils that damage a chick’s respiratory tract.
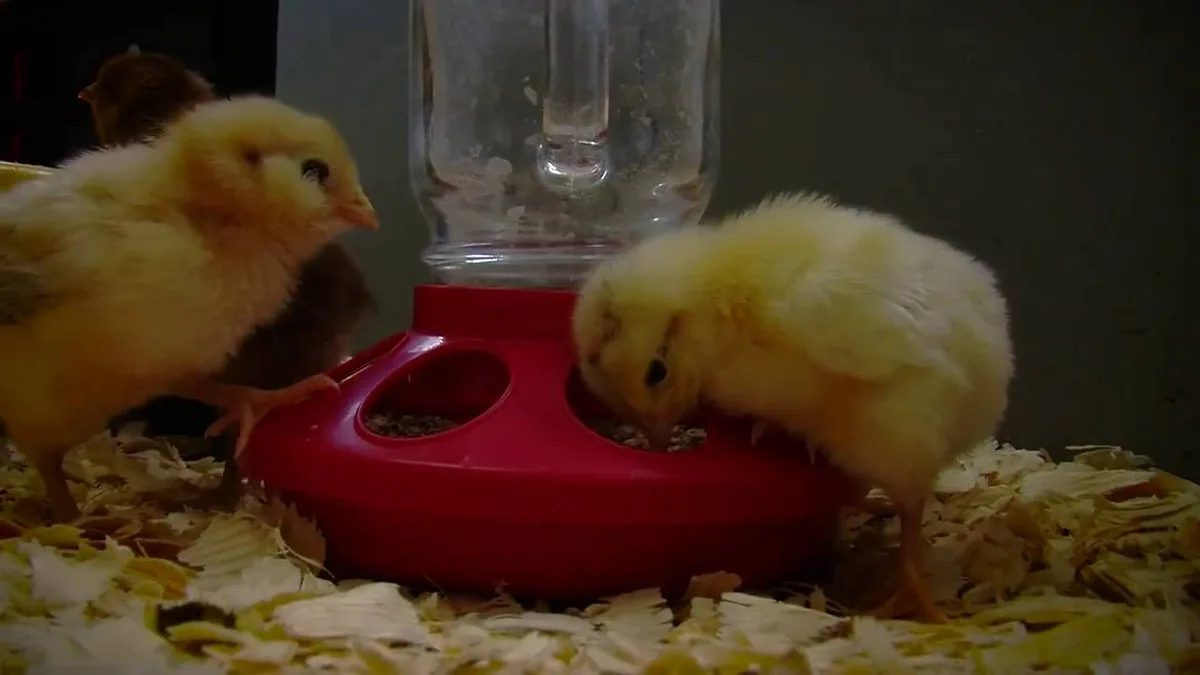
- Feeder: A chick-sized trough feeder. Open dishes get soiled and trampled.
- Waterer: A one-quart chick waterer with a shallow lip. Marbles or pebbles in the base prevent drowning.
- Feed: Chick starter crumbles with 18 to 20 percent protein.
Set the waterer and feeder about six inches from the heat source but not directly under it. Chicks need to move between warm and cool zones to self-regulate. If all they have is a single hot spot, they cannot escape the heat when they need to.
One more thing: quarantine any new chicks from your existing flock for at least 30 days. This is a standard biosecurity practice recommended by university extension services across the country. It prevents the spread of diseases like Mycoplasma and Marek’s.
The Brooder Setup: Heat, Space, Bedding, and Ventilation
The brooder is your chick’s entire world for the first six to eight weeks. Every detail matters, from the floor space to the airflow. Let’s break it down piece by piece.
Heat Source and Temperature Gradient
The heat lamp or brooder plate goes at one end of the enclosure, not the middle. This creates a warm side and a cool side. Chicks will move back and forth to find their comfort zone.
If they are all piled under the heat, they are too cold. If they are pressed against the far wall panting, they are too hot.
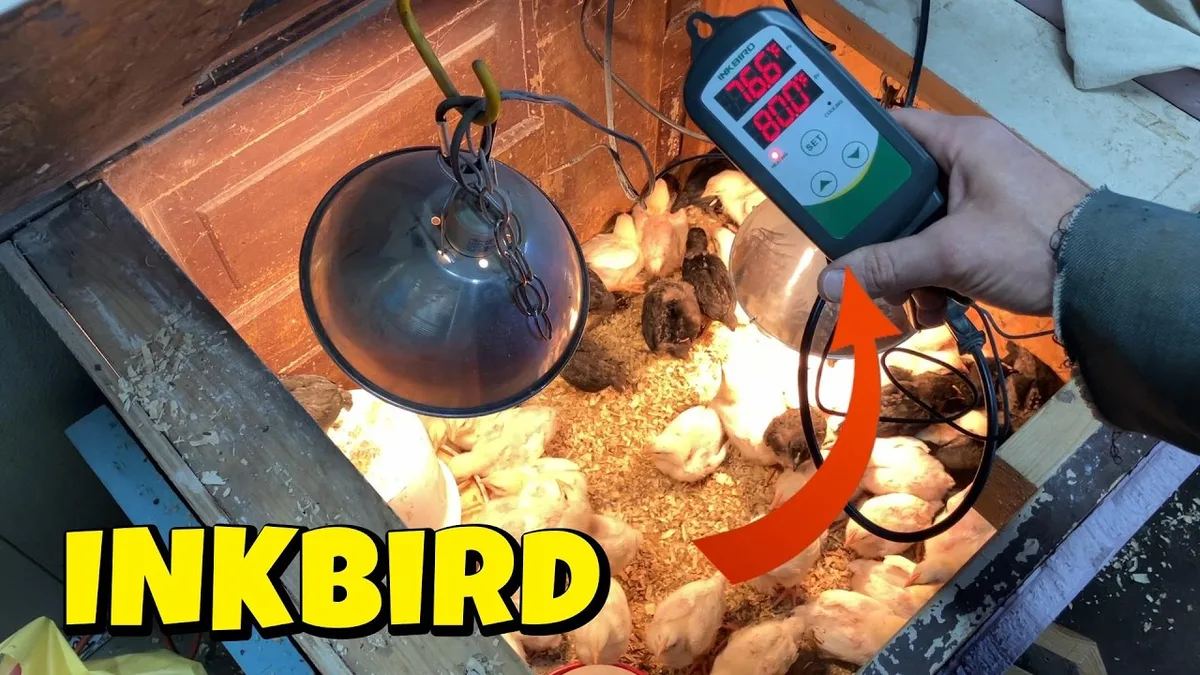
University of Minnesota Extension research confirms that a temperature gradient is essential for healthy development. A single uniform temperature does not allow chicks to thermoregulate naturally. They need the choice.
Floor Space Requirements
Cramped conditions lead to stress, aggression, and disease. As of 2026, standard poultry guidelines recommend the following minimums:
| Age | Space per Chick |
|---|---|
| Week 1 | 0.5 square feet |
| Week 2 | 0.75 square feet |
| Week 3 | 1.0 square foot |
| Week 4 to 8 | 2.0 square feet |
A 30-gallon plastic tub works for three to four chicks for the first two weeks. After that, you will need a bigger setup or a second brooder.
Bedding That Works and Bedding That Kills
Pine shavings are the gold standard. They absorb moisture, control odor, and are soft on developing feet. Change them every two to three days, or spot clean daily if you are diligent.
Never use these materials:
- Cedar shavings: Toxic fumes damage respiratory tissue.
- Newspaper: Too slick. Chicks develop splayed legs on slippery surfaces.
- Sand: Can cause impaction if chicks eat it.
- Hay or straw: Holds moisture and breeds mold.
For the first three days, many experienced keepers use plain paper towels on top of the shavings. This prevents chicks from eating the wood shavings before they learn what food is. Remove the towels after day three.
Ventilation Without Drafts
Chicks need fresh air to remove ammonia from droppings and excess moisture from the brooder. But drafts at chick level are dangerous. Cut ventilation holes in the sides of a plastic tub above the chicks’ head height, or use a mesh lid that allows airflow without direct wind.
If you can feel a breeze at chick level, it is too strong.
Feeding 101: What to Feed, When, and Why It Matters
Feeding a baby chick is simple, but the details matter more than most beginners realize. The wrong feed or the wrong timing can stunt growth or cause health problems that linger into adulthood.
Chick Starter Feed
From day one until week six, feed only chick starter crumbles. The crumble form is small enough for chicks to eat easily. Mash is too fine and can cause choking.
Pellets are too large.
The protein content should be 18 to 20 percent for standard egg-laying breeds. Meat birds like Cornish Cross need a higher protein starter at 22 to 24 percent. Check the label before you buy.
Medicated vs. Unmedicated Starter
This is one of the most debated questions among backyard chicken keepers. Here is the plain truth:
- Medicated feed contains amprolium, a coccidiostat that prevents coccidiosis. It is not a cure. It stops the parasite from multiplying so the chick builds immunity naturally.
- Unmedicated feed is fine if your chicks were vaccinated against coccidiosis at the hatchery. But most hatchery chicks are not vaccinated. Check your invoice or ask the breeder.
For the vast majority of backyard setups, medicated starter is the safer choice. It costs about the same and adds a layer of protection against the most common disease that kills young chicks.
Grit and Treats
Chicks that eat only starter crumbles do not need grit. The crumbles break down easily in their digestive system. But if you offer treats like scrambled egg, mealworms, or chopped greens, you must provide chick-sized grit.
Grit is small stones that help the gizzard grind food.
Offer treats sparingly in the first two weeks. Their digestive systems are still developing, and too many treats can throw off the nutrient balance of their starter feed. A good rule of thumb is no more than 5 percent of their total diet.
Feeding Schedule
Keep the feeder full at all times for the first six weeks. Chicks eat small amounts frequently throughout the day. Do not restrict feed.
A hungry chick is a stressed chick, and stress opens the door to illness.
Water Safety: The #1 Preventable Cause of Death
More chicks die from drowning in their waterer than from disease, predation, or cold combined. It is a brutal way to lose a bird, and it is completely preventable.
Choosing the Right Waterer
A purpose-built chick waterer with a shallow lip is the only safe option. These waterers use a small trough or a base with a narrow channel that lets chicks drink without being able to submerge themselves.
Avoid these dangerous setups:
- Deep dishes or bowls: A chick can fall in and drown in under a minute.
- Open mason jars: Same problem. They tip over and spill, or chicks crawl in.
- Pet bowls: The sides are too high and the water is too deep.
If you must use a makeshift waterer, place clean pebbles or marbles in the base. This creates a physical barrier that prevents submersion while still allowing access to water. But a proper chick waterer costs under ten dollars.
Just buy one.
Adding Electrolytes and Probiotics
After shipping or a long trip from the feed store, chicks are dehydrated and stressed. Adding electrolytes and probiotics to their water for the first 24 to 48 hours can reduce mortality significantly. These products are widely available at farm supply stores and hatch easily measured packets.
After the first two days, switch to plain, clean water. Do not leave electrolytes in the water indefinitely. They can promote bacterial growth if left too long.
Cleaning and Placement
Change the water daily at minimum. Chicks poop in everything, including their water. Dirty water breeds bacteria that causes diarrhea, which leads to dehydration and pasty butt.
Place the waterer on the cool side of the brooder, away from the heat source. Warm water grows bacteria faster and chicks prefer cool water anyway. Raise the waterer on a small block of wood after the first week to prevent bedding from being kicked into the reservoir.
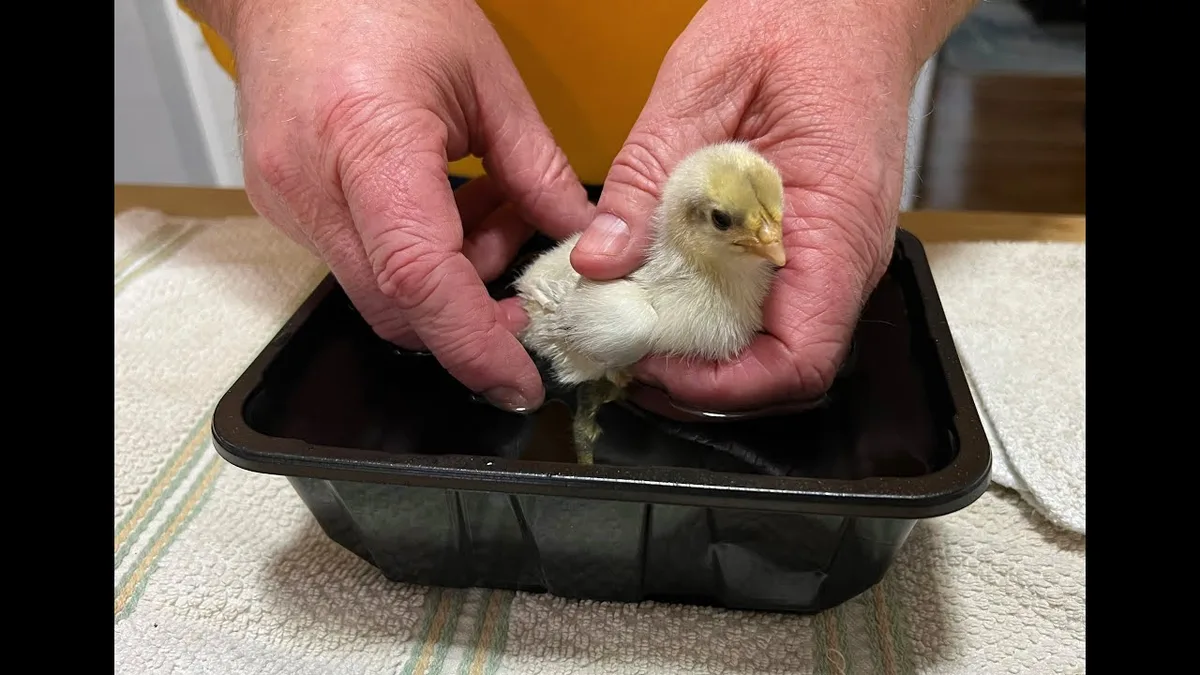
Image source: YouTube / The Old Swede’s Farm (YouTube thumbnail (fair-use with source credit))